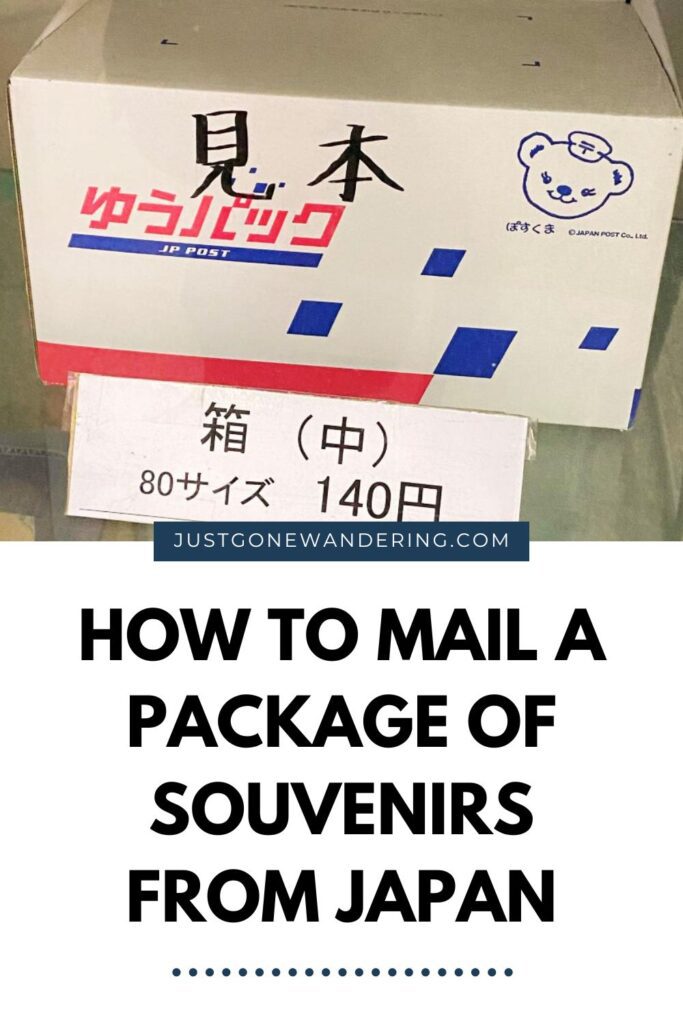
How to Mail a Package Home from Japan
So you’ve shopped your heart out and got tons of great souvenirs during your trip to Japan! How are you planning on getting them home?
You could always buy another suitcase and check it, but that could be more expensive than you’d expect– especially if you already maxed out your luggage allowance just getting INTO Japan.
Another option is to mail your stuff home!
This won’t work for every country, as some rates are too high depending on where you’re sending the package to. But if you’re from the United States, Canada, the United Kingdom or most of Western Europe, then actually it might not be too expensive to mail things!
I’ve mailed two packages from Japan, both full of souvenirs that I got during my long stays in the country. Since I’m a digital nomad I can’t exactly carry all my souvenirs around with me, but luckily my parents are willing to store things for me. 😎 This post is a compilation of information I’ve gotten during my two times mailing packages from Japan to California, one in 2023 and one in 2024. For other nomads wanting to send goodies to loved ones, or for tourists just looking for a cheaper option: here you go!
Just Gone Wandering is supported by readers! This post contains affiliate links. If you click on a link and buy something, I get a small percentage at no extra cost to you. Your support helps keep this blog running— thank you! Read full disclosure here.
Shipping Label & Customs Form
You’ll need to fill out this form ONLINE. They no longer have paper versions and as of March 1, 2024 you CANNOT use handwritten labels for international mail. If you don’t have a tablet/computer/smartphone, you can use a tablet at the post office to do it.
This is basically your shipping label and the customs form in one. I recommend filling this out at home so you don’t feel like you have to rush (or have worried post office workers come over trying to help).
Basically you want to list everything that’s going in your package, plus the estimated cost. Don’t be too super specific, but don’t be too vague, either.
This is honestly the part I have the most trouble with. Sometimes the staff don’t understand what I wrote and something they want more or less detail than what I put. The official JP Post website says this:
Enter the detailed names of goods, instead of generic names or trade names.
For example, when sending a stuffed doll or animal, write the name of the article as stuffed doll or animal, instead of the generic name ‘toy’ or the trade name. Source.
Just do your best and they’ll fix it at the counter if it’s really bad.
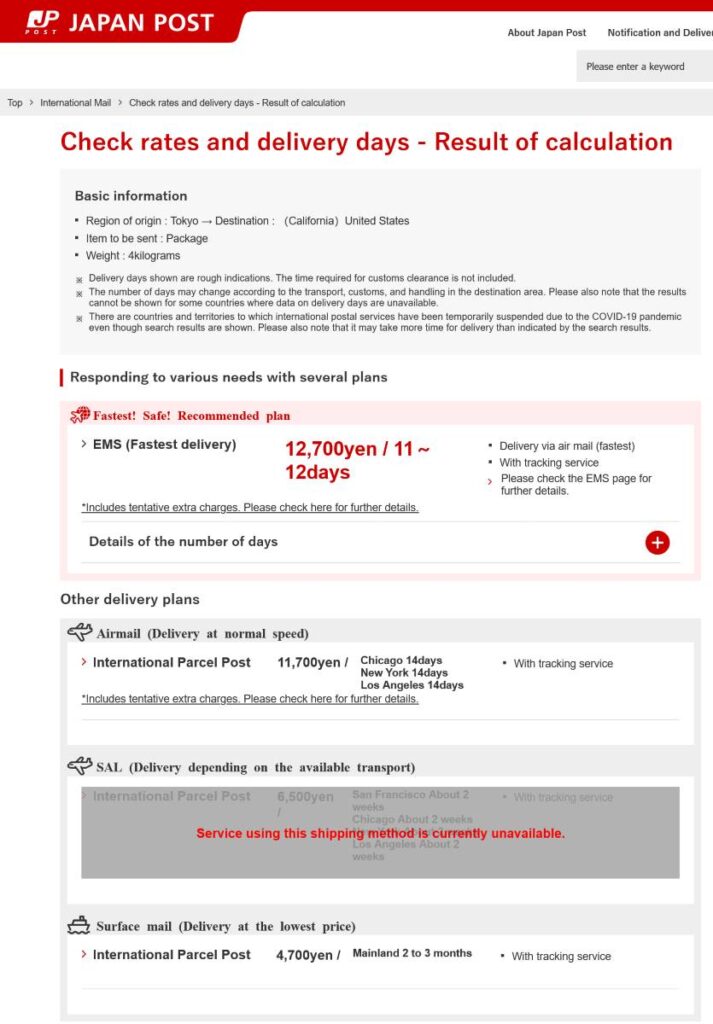
This is also the part where you select the shipping method. For bigger packages you’ll be sending it under “International Parcel Post” which has a max weight limit of 30kg. Final price is determined by weight and speed, which basically means heavier packages going faster cost the most. EMS is the fastest, then air mail at regular rate and then sea mail/surface mail.
Once you send the form through, it’ll give you a QR code. You’ll need that for the post office clerk, so screenshot it and keep it handy.
At the post office
I have experience shipping packages at Osaka and Fukuoka– so, larger cities. Shipping packages from smaller towns might be tougher because the staff are less likely to speak English, but the process should be the same.
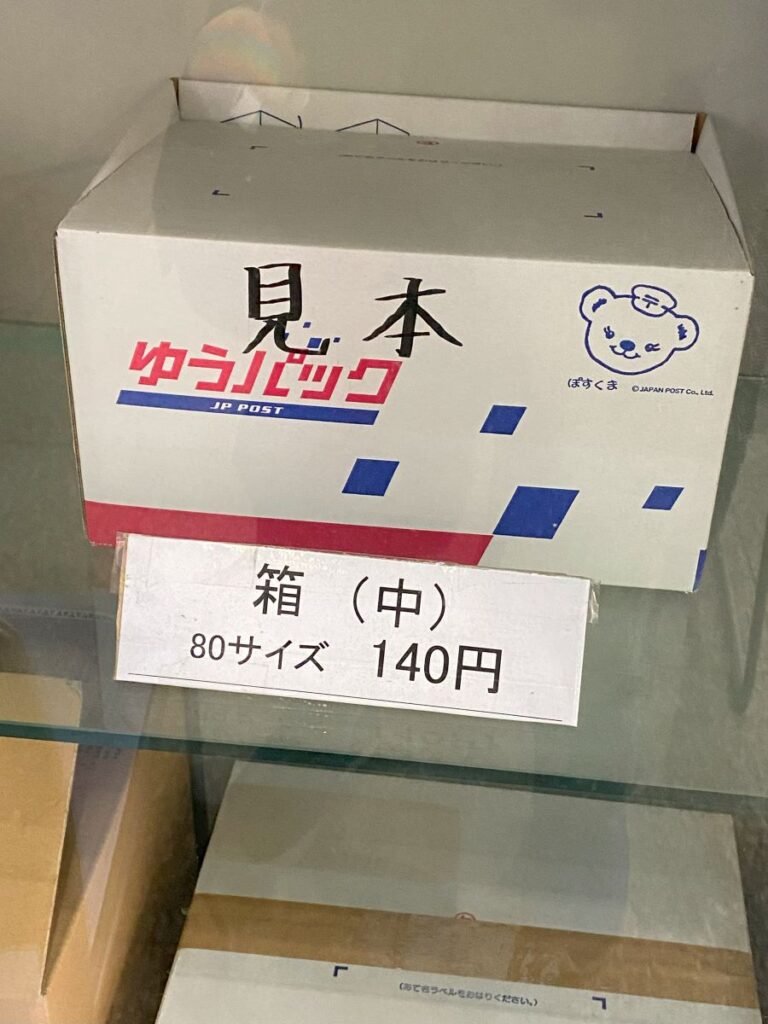
First, you’ll need to figure out what size box you need. There’s some on display near the front of the post office so you can kind of estimate. I recommend taking a picture of the sign on or near the box so you can show staff later.
Then, find the thing that assigns you to a line. It’s usually a small touchscreen somewhere near the front door. If it’s a VERY small post office, they might not have one, but usually if there’s more than 3 counters they they’ll have it.
The one in Osaka had an English option, and the one in Fukuoka had a staff member to help.
You’ll need to buy a box first so select the option that fits that task. The electronic signs above the counter will show your number when it’s time for you to go over (and say it in Japanese). Once you’re up there, show the staff your ticket and then ask for a box. This is where the photo of the box label comes in handy.
Pay for the box (cash is probably best, as it’s usually under ¥300). Then go over to the counter where there’s a table with tape and sometimes packing paper!
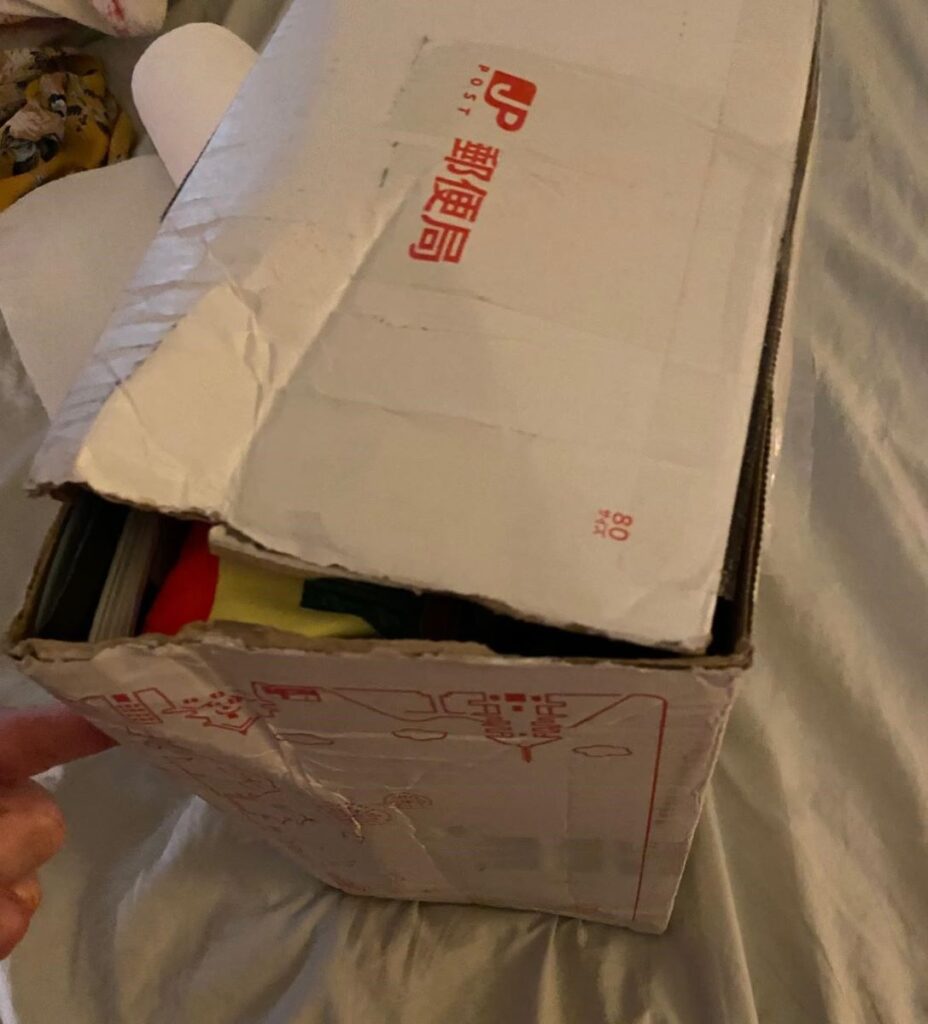
Pack it as well as you can. Cushion anything breakable. You can buy bubble wrap at the PO or bring some from Daiso, and I recommend bringing some plastic bags to put things in as a kind of water/dirt barrier.
Put tape on the flaps to keep them from coming open, too. I’d also recommend taping the corners to reinforce them– my last package burst open on a corner. Luckily everything still showed up!
Once you’re done, get another ticket from the touchscreen machine. This time be sure to select the option that says something about international shipping. (If it’s not busy, the staff just might wave you over directly.)
Bring the package and your customs form code and give both to the clerk. They’ll weigh your package and ask if you want tracking emails.
Once they calculate the postage and you pay for it, you’ll get a confirmation receipt showing that you dropped it off and how much it weighed, etc. For an example, my last package I sent weighed 3.98kg and cost ¥4,700 /$30 USD with surface rate. Not bad at all!
Final thoughts
Shipping things home from Japan is super easy, though a little expensive. Still, if you have a bunch of souvenirs that you can’t fit into your bag or don’t want to drag around with you, then it’s a good option for getting things home again!
Save to Pinterest
Explore More
Japan Guides
- Japan Budget Travel Guide (2024)
- SIM Cards & Wifi in Japan Guide (2024)
- How to Get to Tokyo from Narita Airport
- Travel Japan for Cheap on Highway Buses
- How to Find Eki Stamps in Japan
- Le Creuset in Japan
Best Travel Resources
- 👩💻Stay organized with the Deluxe Travel Planner Spreadsheet
- 🛌Search Hostelworld for budget stays
- ✈️Search SkyScanner for discounted flights around the world
- 😺Join TrustedHousesitters and do petsitting in exchange for accommodation
- 💳Carry Chase Sapphire Preferred for a travel-friendly credit card
- 📱Use Airalo for eSIMs around the world
- 🚙Check DiscoverCars for international car rentals
- 👩💻Snag ExpressVPN to stay safe while browsing the web
- 🧑⚕️Sign up with VisitorsCoverage for trip insurance