How to Get Great Photos of Yourself While Traveling Solo
Traveling solo can be an incredibly liberating experience. It gives you the freedom to explore at your own pace, see the sights you want to see, and have an adventure that’s truly your own. However, one challenge that many solo travelers face is capturing great photos of themselves. Whether you’re looking to document your journey for personal memories or share your adventures on social media, here are some practical tips to help you get amazing photos of yourself while traveling solo.
Traveling solo is great! You get to see whatever you want, whenever you want, all at your own pace. However, one problem solo traveler have is getting good photos of themselves.
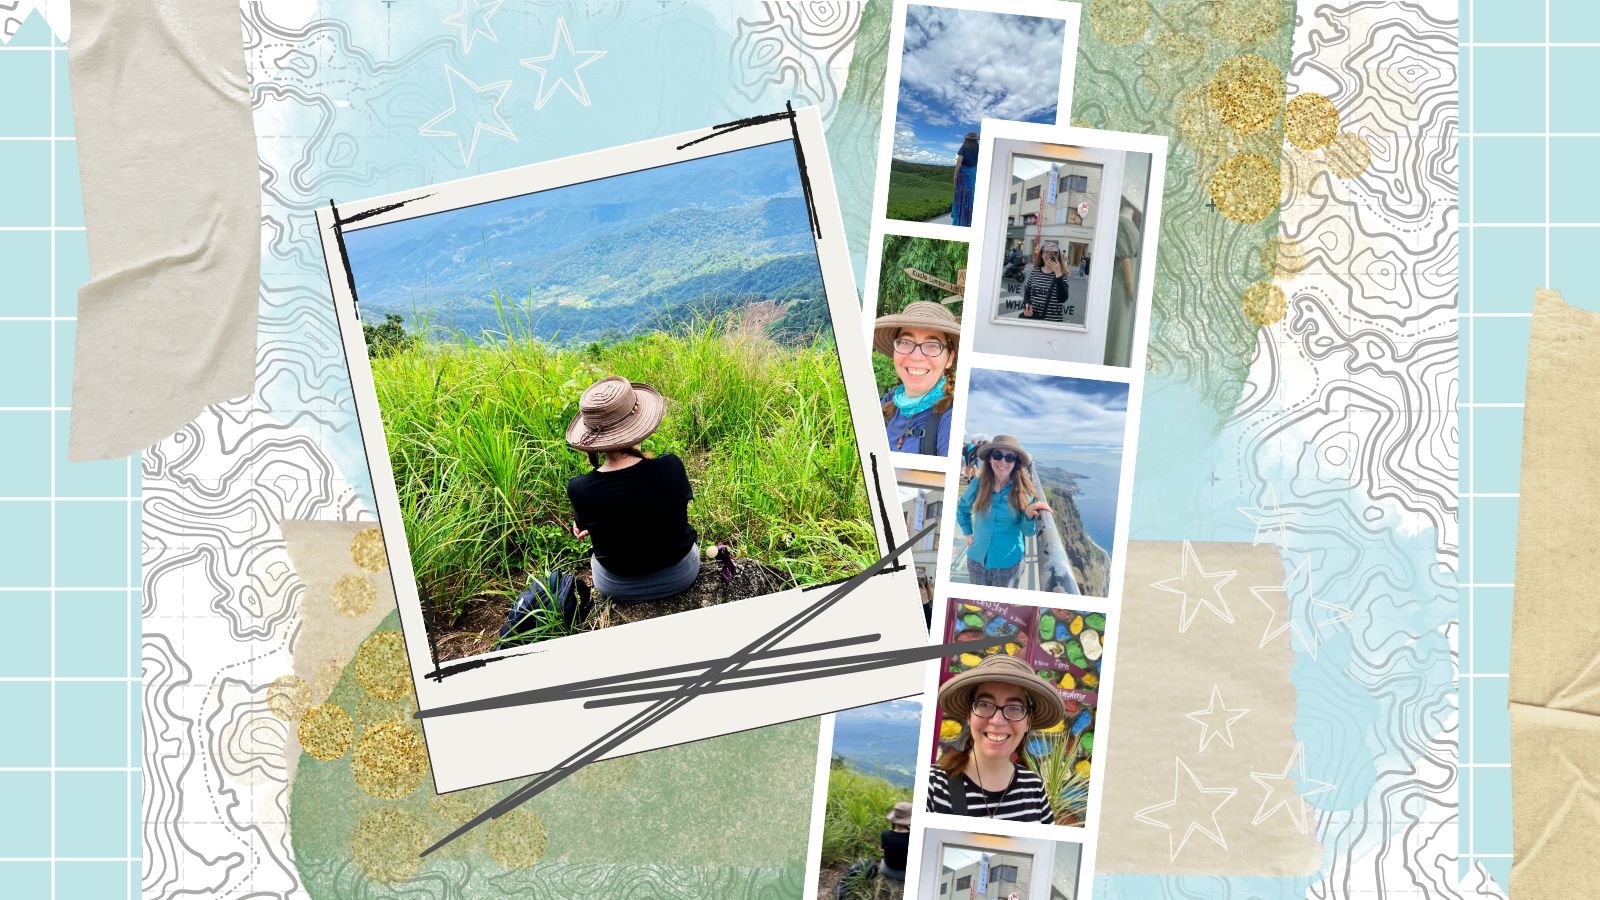
Most of my photos are selfies, and I’ve resigned myself to that fact. But sometimes I just want a full-body photo of myself in front of a special monument or something, and so I have to think of how to accomplish that.
Here’s some practical tips on how to get photos of yourself while traveling solo. And you don’t have to be a professional photographer, Instagram model, or influencer to be able to do any of these!
Just Gone Wandering is supported by readers! This post contains affiliate links. If you click on a link and buy something, I get a small percentage at no extra cost to you. Your support helps keep this blog running— thank you! Read full disclosure here.
Use a Tripod
This is the essential tool in every solo traveler’s toolkit. A tripod lets you set up your camera or smartphone at the perfect angle and take your time to get the shot just right. They come in various sizes, from compact models that fit in your backpack to larger ones that offer more stability.
For most people, a compact tripod will be good enough. It’s lightweight and easy to carry around, and there are even some models that double as a selfie stick! This is the kind I have. I take it with me in a daypack when I go out sightseeing.
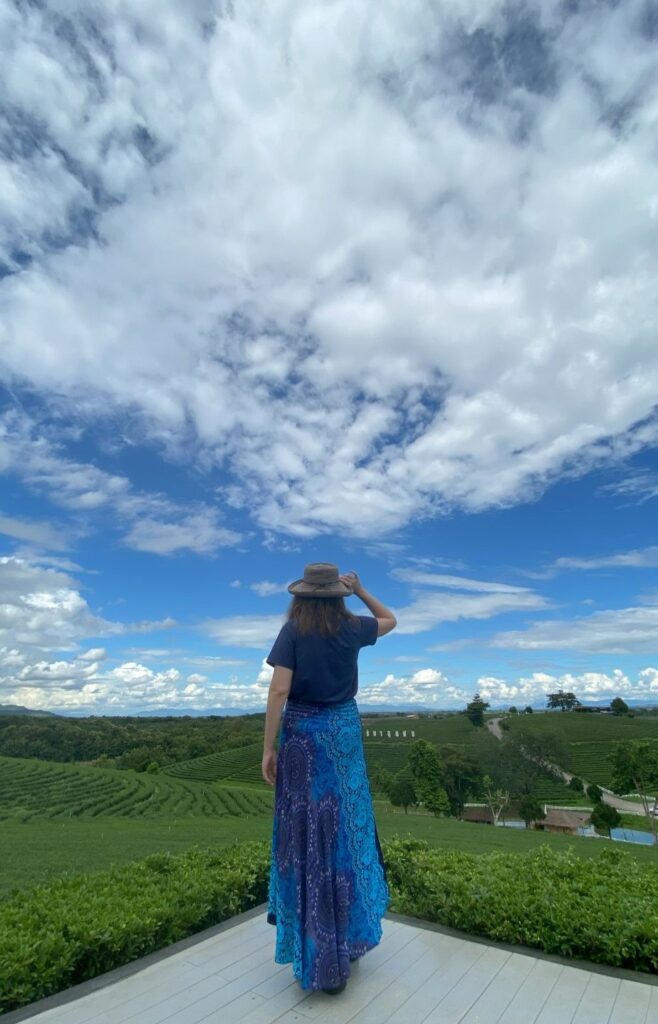
A full-size tripod is good for people who want to do more serious photography, like full on photo shoot style. They’re heavier, but much more sturdy. If you’re using a real camera and not a phone camera, you might want one of these. My dad’s a photographer and he uses this tripod, so I’ll recommend that one, too!
When using a tripod, experiment with different heights and angles to find the best photo composition. Remember to use your camera’s timer or a remote shutter (like this one) to avoid rushing back into position.
Use Burst Mode or Video Mode
Most cameras and smartphones come with a self-timer feature. This allows you to set a delay before the photo is taken, giving you time to get into position. I find these really annoying because the timer is so short and it takes me a while to get back to my photo spot, so instead I like using either Burst mode or Video mode.
Burst Mode takes multiple photos in quick succession. It’s perfect for capturing a series of shots and choosing the best one later. All modern phones and cameras have this setting, though it might be called something different on whatever kind you have.
Video mode is just what it sounds like: record a video and then go back and get screenshots later when editing. Bonus: you can use these videos for Instagram Reels or TikToks!
Using both these features together can increase your chances of getting a great photo without having to run back and forth from your tripod to your position.

Invest in a Remote Shutter
A remote shutter is a small device that allows you to take photos without touching your camera or phone. With a remote shutter, you can stand far enough from the camera to capture full-body shots or wide-angle views without the need to rush back and forth.
There’s a few kinds you can get:
- Bluetooth Remote: These are compatible with most smartphones, both Android or iOS devices.
- Camera Remote: For those using DSLRs or mirrorless cameras, brand-specific remotes are available and you probably already have one tbh if you have a DSLR camera.
Some tripods come with a little remote, otherwise you can buy a standalone one and connect it to your device.
Find the Best Natural Lighting
Lighting is one of the most critical elements of getting a good photo. Natural light, especially during the golden hours (just after sunrise and before sunset), can make your photos look stunning.
The key is to point your face INTO the sun and try not to squint.
Avoid harsh midday sun as it can create unflattering shadows. If you have to shoot during this time, look for shaded areas or use natural reflectors like light-colored walls.
Find Interesting Backgrounds
Take advantage of the unique and beautiful locations you visit and find cool backgrounds to stand in front of. Look for interesting textures, colors, and structures that can add depth and context to your photos.

Consider the rule of thirds when composing your shot. Placing yourself off-center creates a more dynamic photo.

Ask for Help
Don’t be afraid to ask a fellow traveler or a tour guide to take a photo of you. Most people are happy to help, and it’s a great way to meet new people. If you’re in a group tour, usually the tour guide is willing to take photos for guests.
You can also ask other people in your tour to help! I always offer to take photos for couples and then they usually offer to take my photo without me even having to ask.

When asking for help, consider the following:
- Choose someone with a camera: If you see someone else taking photos, and with an actual CAMERA and not just a phone, they’re likely to have some basic photography skills.
- Show them how: Quickly explain how to use your camera or phone. Show them the framing you want by taking a sample shot.
- Be specific: Let them know if you want a vertical or horizontal shot, and guide them on where to stand and how to angle the camera. Giving some guidance will help a lot, as most people just don’t know how to photograph other people.
I’m not the best at any of these and so most of my photos taken by other people tend to be miss rather than hit, but sometimes it comes out okay!

If a photo turns out bad…ask someone else and try again!
The hardest part I have with this suggestion is posing in a way that looks and feels good. It’s like as soon as someone else takes my photo I totally forget how to stand properly. I suggest practicing good poses BEFORE asking people to take your photo; this creator has some good suggestions for how to pose in photos, for instance.
Use Photo Spots
Some places have platforms set up for you to put your phone on and get a photo of yourself in front of a monument or interesting tourist sight. I’ve seen these in Japan and South Korea in particular! Take advantage of these and get some photos of yourself.
Use Reflective Surfaces and Mirrors
This is one of my favorite “tricks” to do. Reflective surfaces like windows, water bodies, and mirrors can create interesting photos that look totally different from the usual selfie/standing in front of a monument photos.
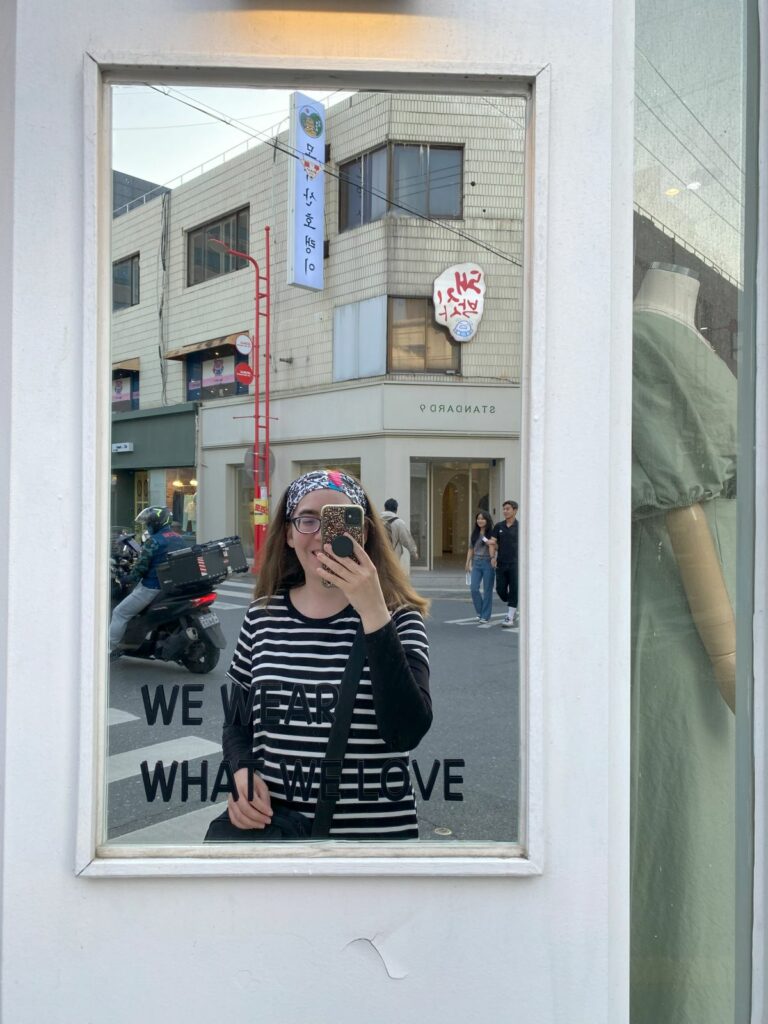
Some reflective places to look for photo opportunities:
- Mirrors: Hotel rooms, bathrooms, and elevators often have mirrors AND decent lighting.
- Water: Puddles, lakes, and fountains provide reflective surfaces for artistic shots.
- Windows: Large windows create beautiful reflections, especially when the light is right.
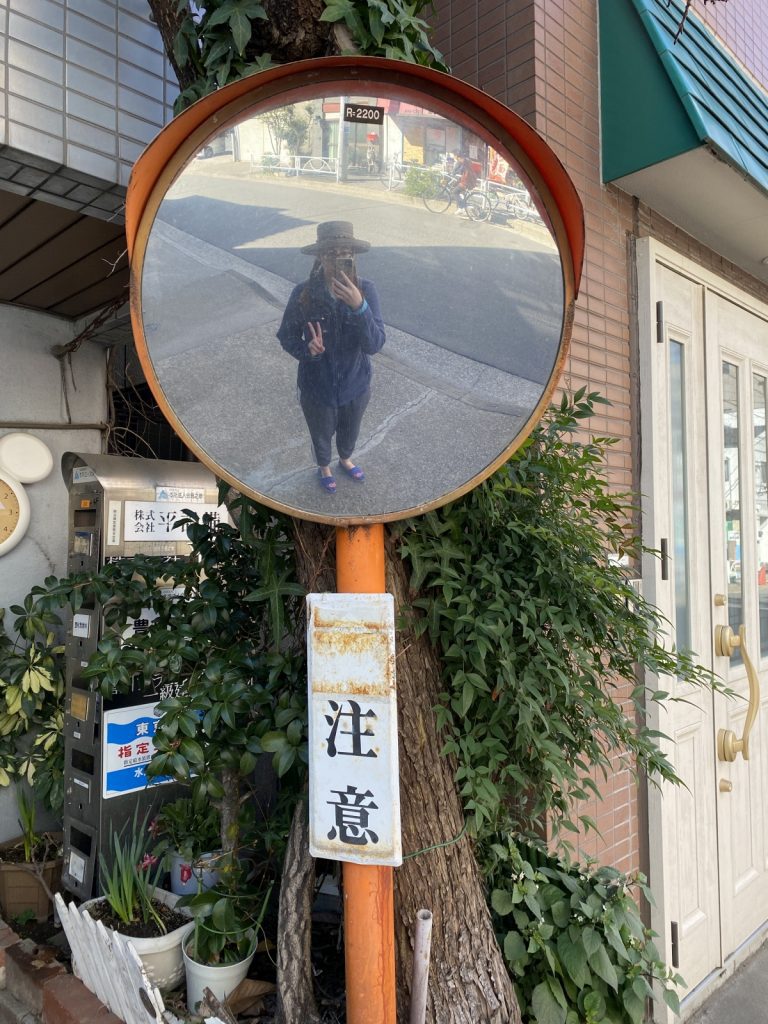
- Blind-spot Mirrors: These are fun! They’re round reflective surfaces on roads where there’s a blindspot; if you’re walking around it’s easy to snap a photo or two of yourself reflected in one.
Book a Photoshoot with a Professional
If you’re going somewhere really special and specifically want good photos, then fork over the cash and hire a professional. In every big tourist city there’s tons of photographers ready and waiting to help tourists get good photos– all those photos of people posing gracefully in front of a beautiful cityscape with a huge dress billowing in the wind? 95% were taken on a paid photo shoot.
Use websites like Viator to find photographers and “Instagram tours.” They usually don’t cost a lot, and the photographers will even edit your photos for you afterwards. Easy-peasy!
Edit Your Photos
Editing takes your photos from good to great. Admittedly I’m not the best at this, but even basic edits like adjusting brightness, contrast, and saturation can make a significant difference. There are many photo editing apps available that are easy to use, even if you’ve never done it before.
- Google Photos: Basic photo editing including removing stuff from the background if you have a paid subscription.
- Lightroom: More for professional photographers, but even amateurs can make use of various presets.
- Snapseed: User-friendly phone app with a wide range of editing features.
- VSCO: Phone app known for its filters and simple editing tools.
Editing allows you to highlight the best aspects of your photos and create a cohesive look for your travel album or social media feed. It can also be a huge time suck, so choose what you edit sparingly if you don’t need these photos for anything other than personal use. 😉
Conclusion
Getting great photos of yourself while traveling solo is entirely possible with a little planning and the right tools. It takes a bit of practice, but if you keep at it you’ll eventually get the hang of it!
Get photos when you can, but don’t stress too much about it. Remember, the most important thing is to enjoy your travels!
Save to Pinterest
Explore More
Solo Female Travel
- Top 5 Countries for First-Time Solo Travelers to Visit
- Going on Your First Solo Trip: Tips for First-Time Travelers
- Safety tips for solo female travelers
- Should I tell people I’m alone? and other questions from solo female travelers
- How to make friends while traveling solo
- How to Book a Group Day Tour as a Solo Traveler
- Best Facebook Groups for Solo Female Travelers
- How to Get Great Photos of Yourself While Traveling Solo
Nomad Living
- How to Plan a Year of Full-time Travel
- Packing List for Perpetual Travel (Solo Female Cozy Budget Style)
- Backpack vs. Suitcase for Long-Term Travel
- How to keep in contact while traveling abroad
- The BEST WhatsApp Travel Group Chats
- 90+ Active Facebook Groups for Travelers
- Where to Stay Besides Hotels When Traveling Long-Term
- Travel kitchen essentials | Hotel cooking
- Best Resources for Long-Term Travel
Best Travel Resources
- 👩💻Stay organized with the Deluxe Travel Planner Spreadsheet
- 🛌Search Hostelworld for budget stays
- ✈️Search SkyScanner for discounted flights around the world
- 😺Join TrustedHousesitters and do petsitting in exchange for accommodation
- 💳Carry Chase Sapphire Preferred for a travel-friendly credit card
- 📱Use Airalo for eSIMs around the world
- 🚙Check DiscoverCars for international car rentals
- 👩💻Snag ExpressVPN to stay safe while browsing the web
- 🧑⚕️Sign up with VisitorsCoverage for trip insurance

