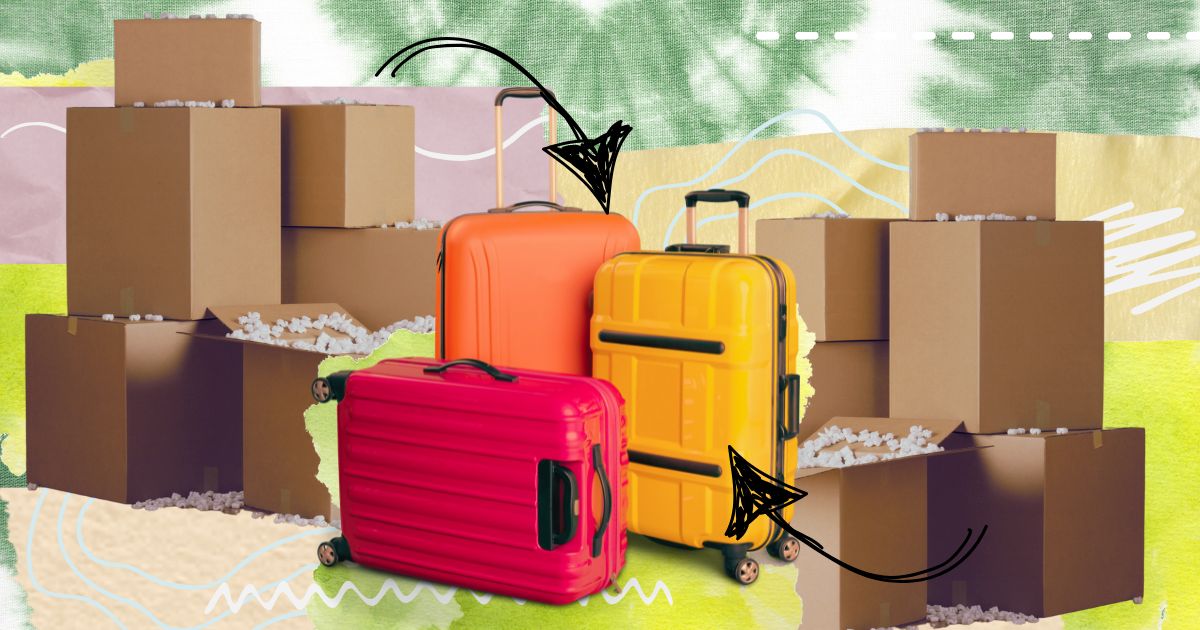
How to Downsize for Full-Time Travel
A major roadblock for people planning to travel full-time is figuring out what to bring with them…and figuring out what to leave behind!
Do you sell everything, keeping only what fits into your suitcase? Do you store everything somewhere, in a storage unit or with a trusted family friend? Do you ship it somewhere else– like a new home base in a different country?
Everyone nomad does it differently, but we all go through downsizing even if we plan to just stash things away somewhere. (After all, nobody wants to pay to keep old utensils and broken dressers.)
Unless you’re already a minimalist with a minimal amount of personal belongings, you’re likely going to have a whole heap of things that you don’t want to take with you, store for a year, or pay to move across the world.
I myself went through a LONG downsizing process, beginning a year before I actually started traveling full-time. Using my own experience, and advice from other nomad friends, I put together this guide of actionable steps for how to deal with your stuff. You’ll learn how to decide what to keep and what to let go of, plus how to deal with the emotional stumbling blocks that may crop up.
If you’re planning a long-term trip, or a life of nomadic living, you might also be interested in these other guides:
- How to Plan a Year of Full-time Travel
- How Much Money Do You Need to Travel the World?
- Backpack vs. Suitcase for Long-Term Travel
- Female Digital Nomad Packing List (Carry-On Only)
- 3 Ways to Keep Your US Phone Number While Traveling
- 50+ BEST Phone Travel Apps for Digital Nomad Life
- The Ultimate Tech Guide for Full-Time Travelers
- How to Save Money on Accommodation by Housesitting (My Experience)
- The Best Travel Jobs for People Who Don’t Want to Be Stuck Online
- 40+ Remote Jobs You Can Work From Anywhere
I’ve also linked to some books throughout the post which may help with the emotional/psychological side of decluttering!
Just Gone Wandering is supported by readers! This post contains affiliate links. If you click on a link and buy something, I get a small percentage at no extra cost to you. Your support helps keep this blog running— thank you! Read full disclosure here.

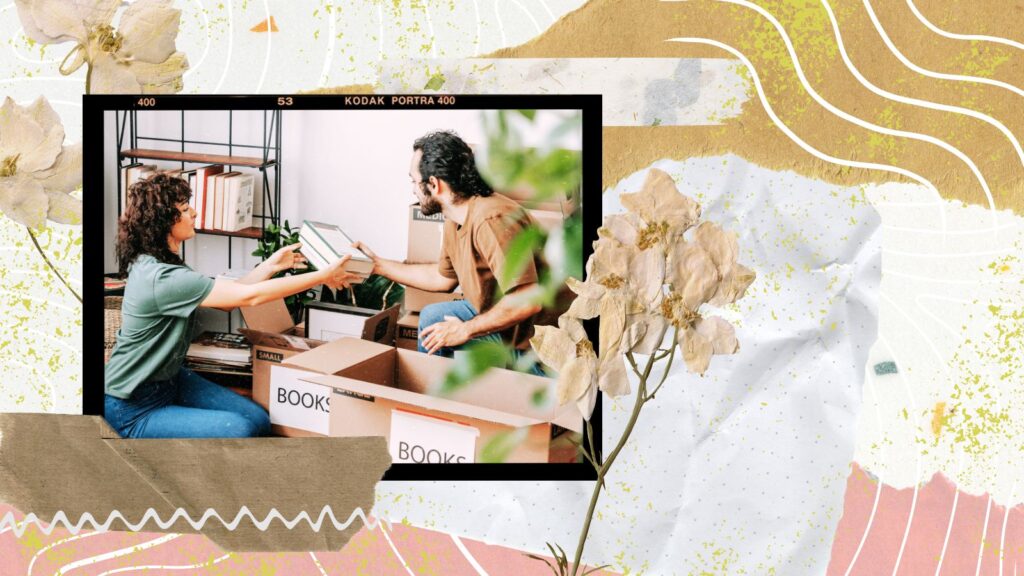
Step 1: Assess what you have
The first step is to take stock of what you actually own.
You’d be surprised how much stuff gets forgotten about in daily life. All those things in closets, the many boxes in the attic, random bags in the garage, seasonal decor you bought 5 years ago and never used again, all that sort of stuff. If you don’t use it daily, it kind of fades to the background and stops being noticed.
I was only living in a single room when I started downsizing for travel, but even then I had stuff that I forgot about for a few years. Pulling everything out and into the open was mind-blowing, because I didn’t realize I had THAT much waiting for me to find it again.
If you’re in a house, try going room-by-room rather than tackling it all at once. Pick one room to start with and look at everything. Go through the closets, open all the boxes you can find, and get things out of storage. Take photos if it’ll help you remember later, too!
You don’t need to make a list of everything, but you do need to have an idea of the AMOUNT of things you’ll need to process. That way you can make a schedule for downsizing and clearing out that “stuff.” We’ll talk more about that schedule in Step 4.
The goal is to basically see the total amount of things you’ll need to process. Ideally this’ll start at MINIMUM 6 months before your travel start date, and up to a year before if you’re sorting through an entire house.
Problem: All this stuff makes me overwhelmed
Yeah that’s understandable! And it IS overwhelming to see a huge pile of things, most of which you probably don’t even want to keep, and know that you have to sort through it before you can start your new travel life.
But try to think of it like this: the more you clear out before you leave, the less you’ll have to worry about while you’re traveling and when you come back. It’s an emotional thing! You’re literally sorting through your old live to start a new one.
If it seems like too much to do all at once– that’s why I recommend starting months earlier. You can do a little bit at a time and the scope of it starts to shrink as you put more time/effort into it.

Step 2: Figure out what you want/need to keep
Okay, now the hard part : deciding what stays, and what goes.
How much you get rid of depends on what kind of person you are.
Usually there’s two types of people:
- those who want to try traveling, but aren’t sure if they’ll like it so they want a buffer, and
- those who KNOW they want to travel full-time and want to jump right in and don’t need a buffer. (I’m the latter type of person, by the way.)
Type 1: Testing the waters (up to 1 year of full-time travel)
If you’re just testing the waters, or only want to travel for one year or so, then give yourself a bit of leeway. I actually don’t think it’s necessary to dump EVERYTHING, if you’re not even sure you’re going to like the nomad lifestyle!
Instead, focus on keeping the things that would be really annoying or expensive to replace when you get back, like business clothes and nicer furniture. This will mean you’ll have to pay for storage, but if it’s only for a year then just build the cost into your travel budget.
If and when you decide to keep traveling, then you can come back and get rid of more things.
Type 2: Going all-in and living full-time as a nomad
If you’re planning on being a full-time nomad for more than a year, I recommend getting rid of as many things as you can. Including furniture!
Usually what happens is people find out they LOVE traveling and want to keep doing it, and then they remember they have a huge storage unit of stuff back home that’s going to rack up more fees. Then they have to plan a return trip and spend time going through their stuff again, and it’s very annoying.
Just get rid of it at the start and when you decide to settle down again a few years from now, you can get new things.
What should you get rid of?
Some ideas for what to dump:
- Cheap furniture (i.e. most of Ikea’s catalog)
- Old papers, like those essays you kept from high school for no reason
- Seasonal decor and fake Christmas trees (you can get new stuff later)
- Hobby items you haven’t used in year and can’t take on the road
- Clothes that used to fit but don’t now
- Most of your shoes (they’ll rot in storage anyway)
- Old electronics, TVs and phones
- Mattresses
- Books and magazines
- Collectibles (sell them to fund your trip)
- Art supplies (the paint will solidify)
What should you keep?
On the flip side, these are usually worth paying storage fees for, at least for a bit:
- High quality antique furniture
- Family mementos and heirlooms
- Expensive winter or sports gear IF you plan to do winter or sports some time in the next 3 years
- Your personal papers e.g. birth certificate and social security card (you’d be surprised at what people accidentally throw out)
- Nice art pieces or handmade mug type things, 1-of-1 items that can’t be replaced
- Vintage clothes that can’t be easily found again
With the caveat that these things CAN be destroyed by improper storage. And honestly, if you’re going to be gone for years then they might be worth lending to friends and family for them to enjoy instead while you’re gone.
Tip: Take photos of things you like, but don’t want to keep. You can look back on the photos and connect with them that way, but they won’t be taking up valuable storage space.
Step 3: Decide where that stuff will go
Okay, so now that we’ve assessed what we have and what we want to keep, we need to decide where everything will go.
I put this step before the actual downsizing part because it’s easiest to match the SIZE of your storage to what you’re going to put in rather than the other way.
If you downsize and THEN look for storage, you’re just going to keep more stuff because you can always go bigger. However, if you have a storage unit of a specific size picked out, then you HAVE to be able to fit everything in there– or else get rid of more things. See what I mean?
Now, for where to keep your things:
The best (and cheapest) way is to stash a few boxes with a friend or family member, if they have room for your stuff. Obviously, the less boxes of stuff you have, the easier this is to accomplish. This is what I’m doing and all my stuff more or less fits into one small closet in my parents’ house.
Then there’s a storage unit. Depending on where you live, this can get VERY costly, especially if you want a temperature-controlled unit. In Southern California, where I’m from, a basic non-climate controlled storage unit costs something like $70 USD/month for the smallest size.
I recommend picking the smallest storage unit you can find, honestly, especially if you’re not planning on coming back for more than a year. If you start with a bigger unit, you’ll save stuff just to fill it. It’s like a suitcase that way: they smaller you start with, the less room you have for “just in case” items.
Another option is to send your stuff to an international location, and then store it there. This could work if you plan to spend most of your time in Southeast Asia or Mexico and want to have your stuff closer to your new “base.” This works best for people who’ve already spent a significant amount of time in an area and know they’d want to settle there after traveling is over.

Step 4: Get rid of everything else
The most painful step, and one that MUST be done.
Once you have your assessment, your “keep” list and your storage space, you need to go through everything and get rid of it all. Ideally you’ll have enough time before your trip starts where you can break up this process into a weekly thing. Like, if you’re in a house, you’ll do one room a week.
I found that keeping to a schedule and doing a bit at a time is a lot less stressful than putting it off and trying to cram everything into the last week before the trip starts.
Plus it means you can do events like yard sales, flea markets, and so on to sell some of the nicer “stuff” and make a little extra for your trip budget!
Putting together a schedule
This works best if you know ahead of time you’re going to travel for a while– and the longer you know, the more time you’ll have to downsize! I recommend at minimum a MONTH before your start date, especially if you have a lot of things to go through.
Ideally, though, you’ll have about 6 months to get everything done.
To make it easier on yourself, you’ll want to get rid of certain things closer to your start date than not. For instance, selling your bed 4 months before you travel may make things uncomfortable for longer than they need be!
Here’s my recommendation, based on having 6 months before you leave.
Month 1: Go through everything and assess your belongings. Make a list of things you definitely want to keep, things you’re unsure about, and things you know you want to get rid of.
Month 2: Start downsizing the smaller items. Make piles of what to sell and get them listed (if selling online). Go room-by-room if you have a very large house.
Month 3: Start offering things to friends/family and donating stuff you can’t sell or give away.
Month 4: Start selling furniture you don’t need to live comfortably for the rest of your stay in your house (like extra dressers, guest beds, whatever).
Month 5: Start going through sentimental items and really pare things down to what you truly want to keep and what you can get rid of. Consider scanning family photos and letters, etc.
Month 6: Start selling the bigger furniture that you kept from the previous months. Do a last round of decluttering and then pack what you’re keeping and put it into storage!
Problem: I have a lot of sentimental items
Sentimental items slow the decluttering process down, because you have to deal with the emotions/memories that come attached with them.
My own experience was this: I was able to get rid of most things easily, but I ran into a whole heap of sentimental items and parts of my various collections. That meant I kept dragging my feet and putting it off until later, and then eventually later was NOW and I had to figure something out immediately. It was very stressful trying to wrap everything up at the end!
My suggestion is to do the following:
- Try not to go down memory lane for each item you pick up. You don’t have time to remember every instance that you used that hockey stick in undergrad, you need to figure out if you’re keeping it or passing it on to another hockey lover.
- If you have family members who are interested in family heirlooms that you don’t want to store, pass those on to them!
- Alternatively, have a “free yard sale” and invite friends to come grab stuff they’re interested in. Passing a beloved item to a friend is a wonderful feeling!
- If you have family heirlooms but no family to pass them to, and you don’t want them but feel guilty for not keeping them, take a deep breathe and donate them. There’s nobody judging you and somebody else might find them and love them!
- Take photos of things you love but don’t want to keep! I had to do this for a lot of plush toys I had as a kid but didn’t particularly want to keep.
Where to get rid of stuff
Processing
There’s ways to “keep” things without having to actually keep the physical item. For instance, if you have a book collection but they aren’t expensive editions, you can either replace them with ebooks OR get them scanned using a service like 1DollarScan. It does destroy the books, but you’ll get a nice PDF version you can “take with you.”
Same thing for family photos, old family videos still on VHS tapes, and so on. Check your local area to see if there’s services that’ll digitize that stuff for you. It usually costs a bit, but once it’s done you can either toss the originals or send them to family members who want them.
Selling
For things worth $25-50+, or that will sell quickly and thus be worth the time and effort to sell them.
- eBay, Etsy, Mercari
- Facebook Marketplace
- Consignment shops — for things that are $$$ in particular
- Yard sales, flea markets, etc.
🤔 It can be hard to let go of things that you paid a lot of money for, especially when it turns out that the resale value isn’t what you hope it’d be. But just remember this: when you’re halfway around the world staring at an elephant and eating a bowl of noodles, you won’t care that you sold a $200 thing for a mere $50. You’ll just be happy you have that $50 to use for more noodles in a foreign country!
Donating
For things worth less than $25, or that won’t sell quickly and isn’t worth your time listing (but is still in good condition):
- Do a friends and family “grab what you want” day — Invite them over to rummage through your stuff and have a pizza with you before you go
- Thrift stores and charity shops
- Homeless shelters, animal shelters, etc. — double-check they’ll accept whatever you’re donating first, of course
- Little Free Libraries for books in good condition
- Schools, after-school programs, and daycare programs
Throwing Out
Broken, old, useless things that can’t be sold or donated.
- Electronic recycling programs (Best Buy does this for computers, for instance)
- Bulk pick-up for large items
- Literal trash
Final Thoughts
It’s a big task to downsize your life into a few boxes, and then further into a backpack or suitcase for a new life on the road!
But once you have it done, you’ll be so happy you took the time to do it right. Not only will you NOT have to worry about a house full of stuff you don’t need, but you’ll be able to focus on your upcoming adventures and how you’re going to fit everything into your suitcase!
Save to Pinterest
More Posts About Nomad Life
Best Travel Resources
- 👩💻Stay organized with the Deluxe Travel Planner Spreadsheet
- 🛌Search Hostelworld for budget stays
- ✈️Search SkyScanner for discounted flights around the world
- 😺Join TrustedHousesitters and do petsitting in exchange for accommodation
- 💳Carry Chase Sapphire Preferred for a travel-friendly credit card
- 📱Use Airalo for eSIMs around the world
- 🚙Check DiscoverCars for international car rentals
- 👩💻Snag ExpressVPN to stay safe while browsing the web
- 🧑⚕️Sign up with VisitorsCoverage for trip insurance